This post introduces Maltego graphs, Transforms, and Entities. It shows you how to create a new graph, populate the graph with Entities, run Transforms on those Entities to obtain new Entities and copy Entities from one graph to another.
If you have already played around with Maltego to create your first graph, read on about conducting a level 1 network footprint investigation in the next Beginners Guide article.
Creating Our First Maltego Graph 🔗︎
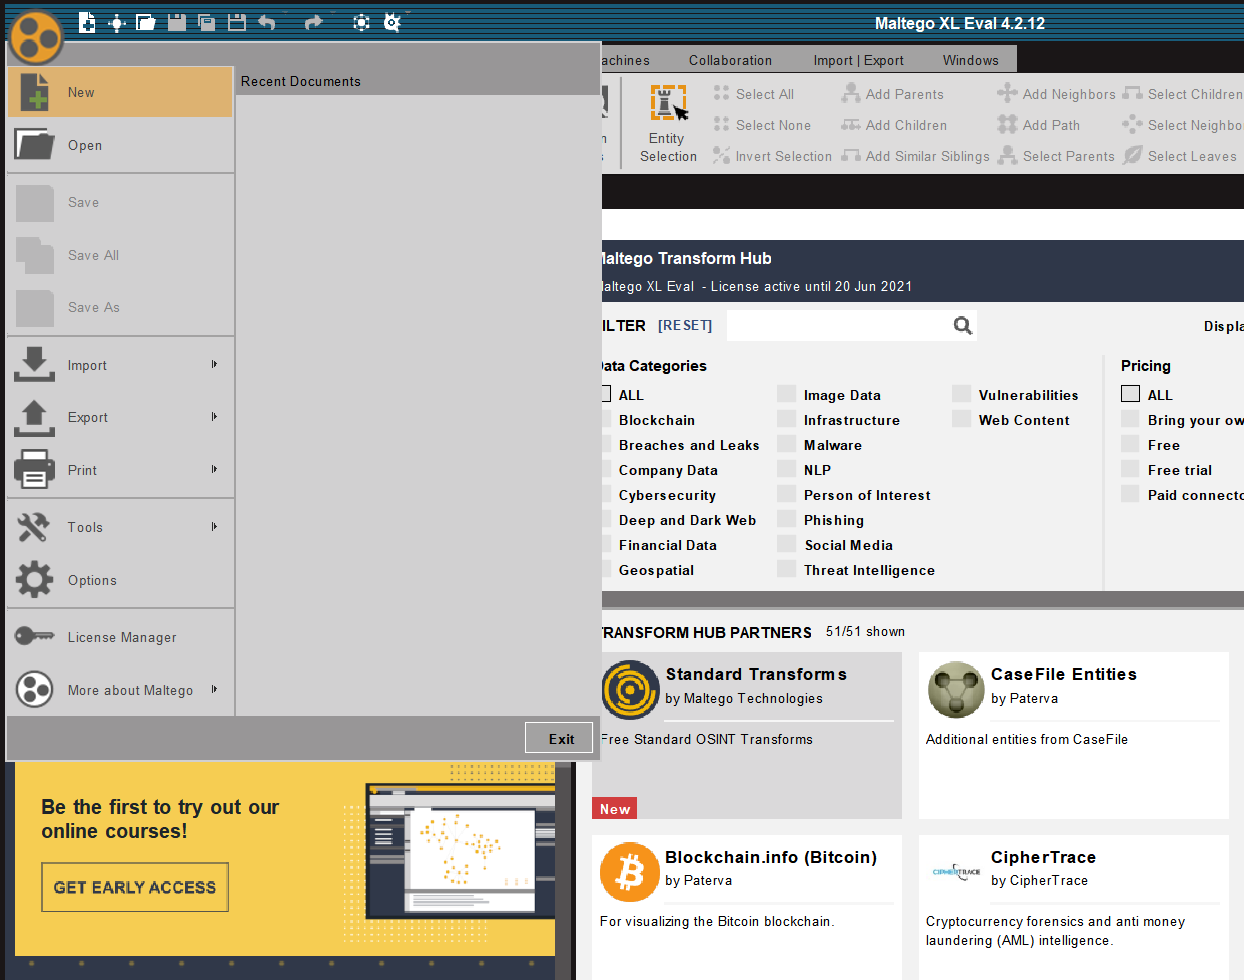
Let us create our first Maltego graph by clicking on the Maltego button in the top left corner and choosing New from the main menu. This creates a new graph for us to work on.
Step 1: Creating Our First Entity in Maltego 🔗︎
In this guide, we will use GNU organization as an example, which is identified by the domain gnu[.]org.
To add an Entity for this domain to the graph, we first search for the Domain Entity in the Entity Palette, which is on the left of the window, and drag a new Entity onto the graph.
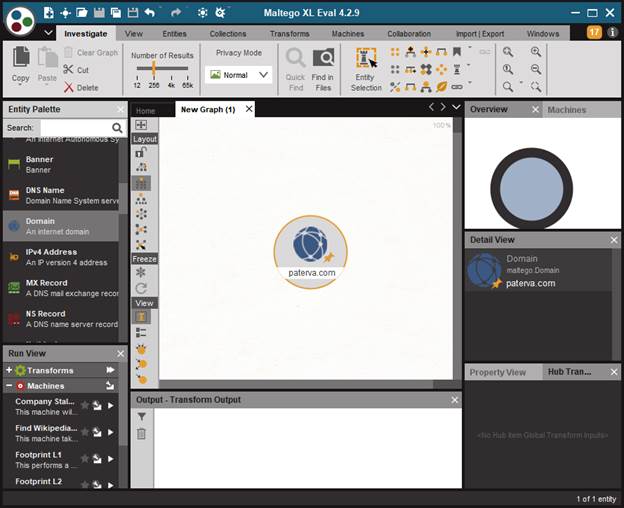
By default, Entities come with a default value. In our case, the Domain Entity has a default value of paterva.com. This can be changed by double clicking the Entity value (or pressing the F2 key with the Domain Entity selected) and changing the value to: gnu[.]org.
Step 2: Running Maltego Transforms 🔗︎
What Are Transforms? 🔗︎
Transforms are functions which take an Entity as input and create new Entities as output. The output Entities are then linked to the input Entity. This is how a graph grows in Maltego. This could be compared to the way investigations are carried out: you start with some piece of information and you derive new pieces of information from it.
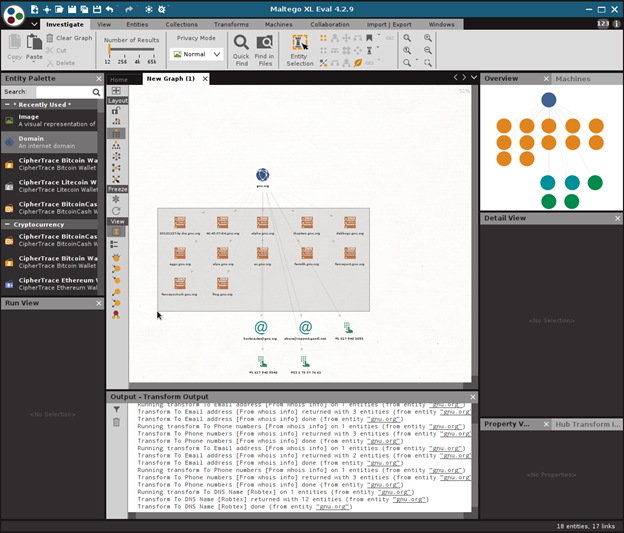
Each Transform accepts certain types of Entities as input. You can see the list of Transforms that can take an Entity as input by right-clicking anywhere on the graph with the Entity selected.
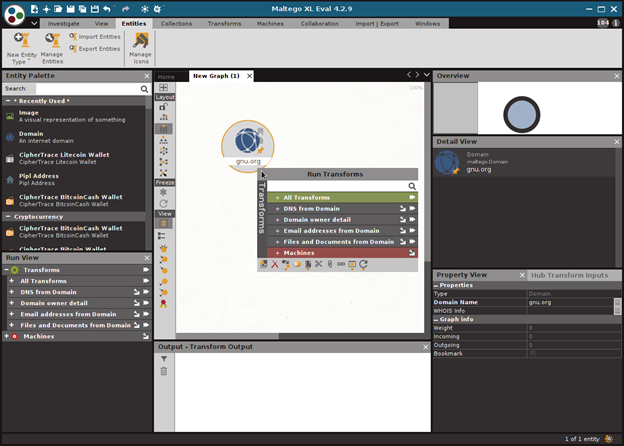
You can now choose what Transform to run by selecting that Transform in the context menu.
If you know which Transform you want to run, you can search for it using the search box in the Run Transform menu.
Note the + in the menu options: it indicates a Transform Set, where related Transforms are grouped together. Clicking on the Transform Set will show the Transforms in that set. To go back, select the back arrow as shown below, or simply right-click anywhere in the Transform menu.
Run the To Email Address [From whois info] Transform to Find Email Addresses from A Domain 🔗︎
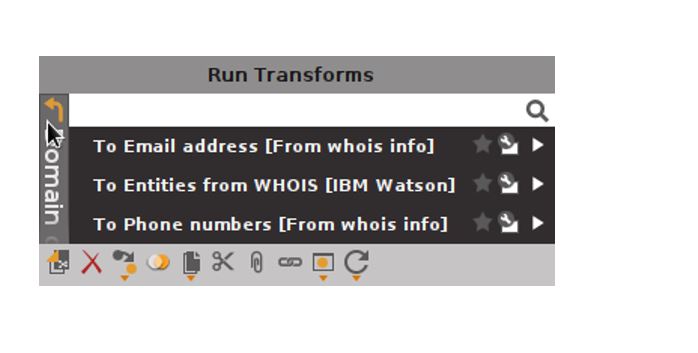
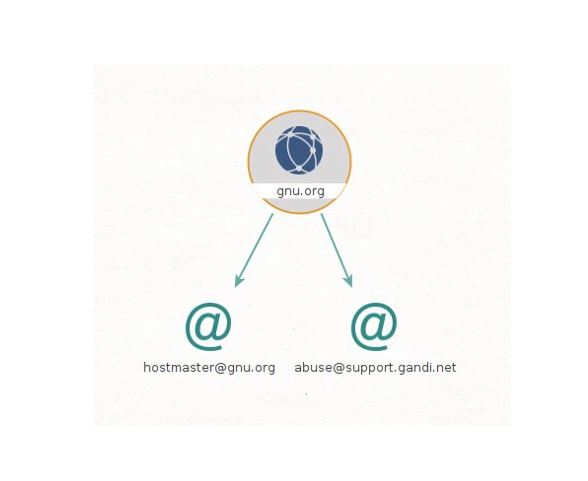
In this example, let us find the contact details for the owner of the domain gnu.org. Expand the ‘Domain owner detail’ set and select the ‘To Email address [From whois info]’ Transform.
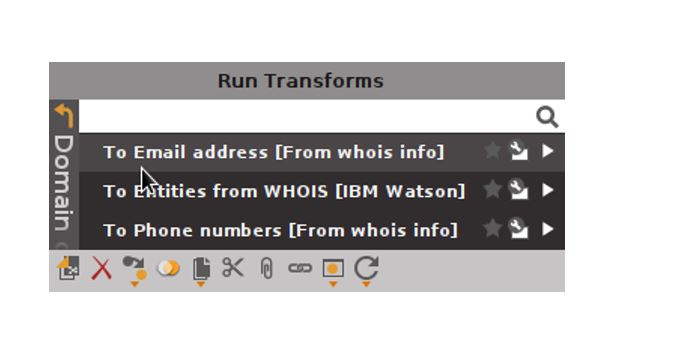
This Transform fetches the “whois” record for the gnu.org domain and extracts the administrative email addresses for the domain. Results from the Transform are added as child entities to the Domain Entity.
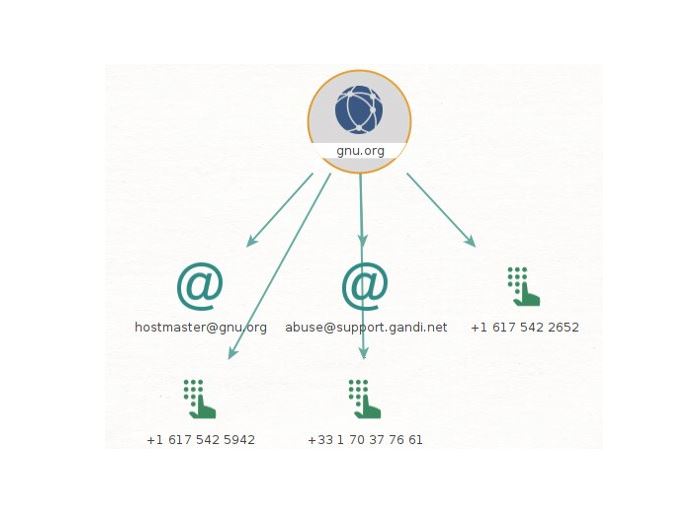
We can also extract any phone numbers present in the whois data by running the ‘To Phone numbers [From whois info]’ Transform.
Run the To DNS Name [Robtex] Transform to Find DNS Hostnames Under A Domain 🔗︎
To find some of the DNS hostnames that exist under gnu.org, run the Transform ‘To DNS Name [Robtex]’ on the gnu.org Domain Entity. You can search for this Transform by typing “dns” in the search box:
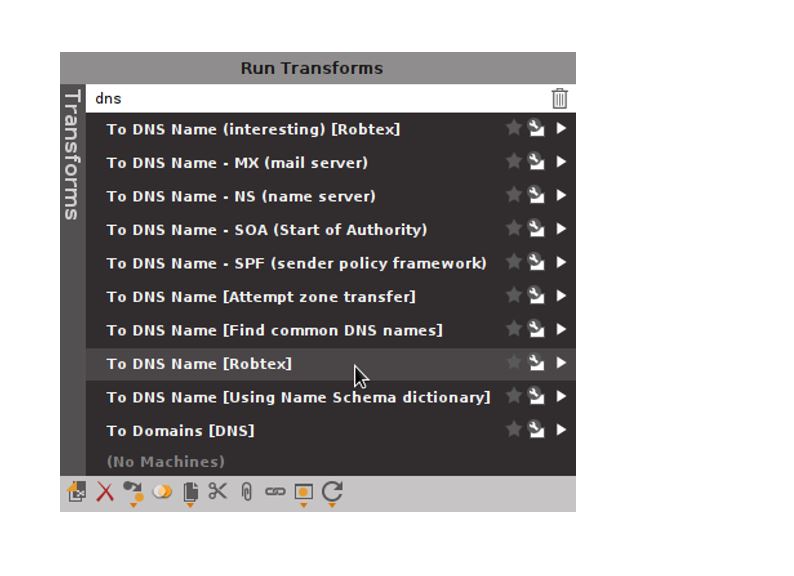
The Transform ‘To DNS Name [Robtex]’ queries the Robtex database which contains historical DNS data for any DNS name records under gnu.org domain:
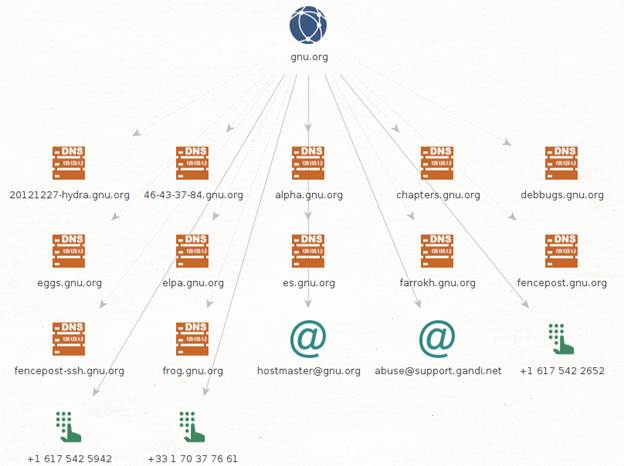
Our graph now contains the administrative contact details and some hostnames under the gnu.org domain.
Run the To IP Address Transform to Look Up IP Addresses of Hostnames 🔗︎
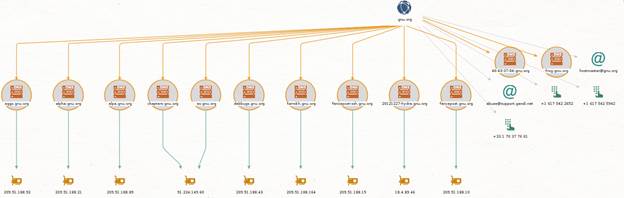
Next, we can look up the IP addresses of these hostnames. This can be done by selecting all DNS Name Entities and running the Transform, ‘To IP address’. Multiple Entities can be selected by dragging the mouse selection over them – click and drag the mouse to select Entities under the selection box:
This Transform returns us the IP address of these DNS names by querying the DNS.
Remember to Save Your Maltego Graphs 🔗︎
Note: Get into the habit of regularly saving your graph as your investigation progresses. You can do this by selecting Save As in the main menu.
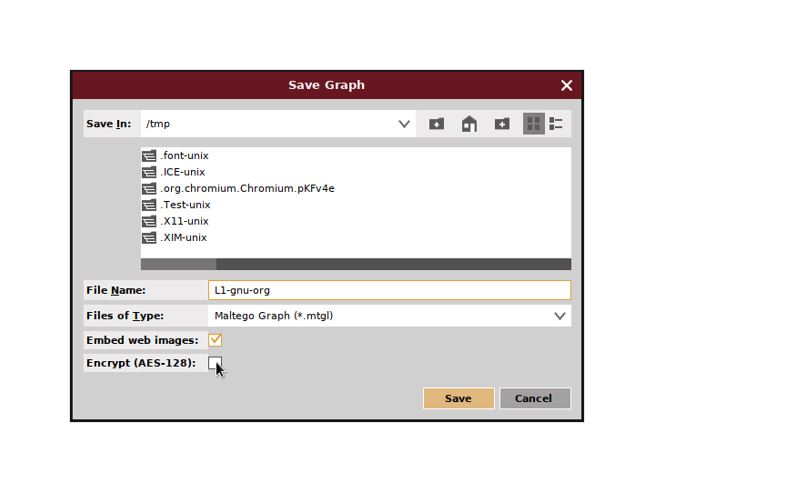
Since investigations tend to uncover and contain sensitive data, Maltego offers the option to encrypt saved Maltego graphs. You can choose to encrypt your graphs by selecting the Encrypt option and providing a password for encryption.
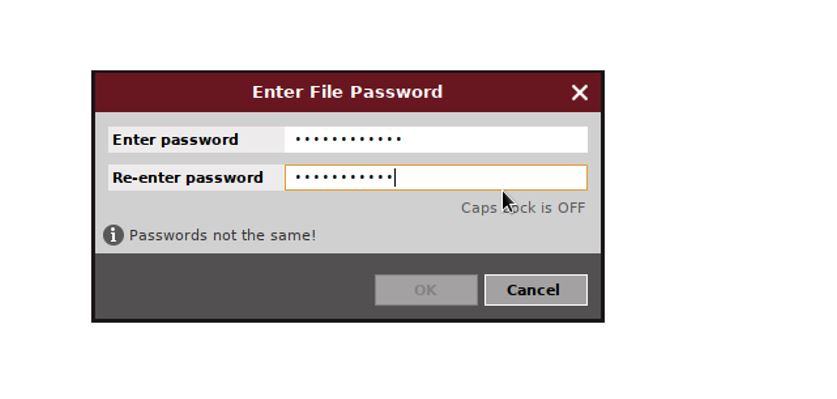
That’s it! The saved graph can be re-opened by entering your password.
In this blog, we’ve illustrated how to create a graph in Maltego, how data is represented as Entities and how to derive more Entities onto the graph by running Transforms.
For a deeper look into some of the Transforms in Maltego, see our next blog post Beginner’s Guide to Maltego: Mapping a Basic (Level 1) footprint—Part 1.
Follow us on Twitter and Linkedin or subscribe to our email newsletter to make sure you don’t miss out on any updates.